Key Tips To Measure Correctly
-
![]()
Measure Accurately
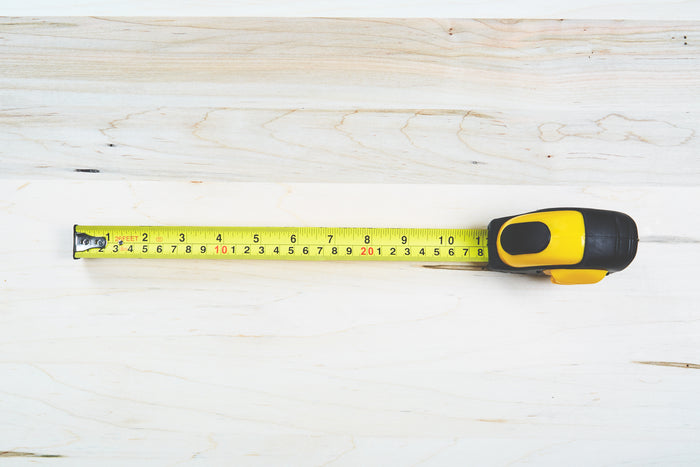
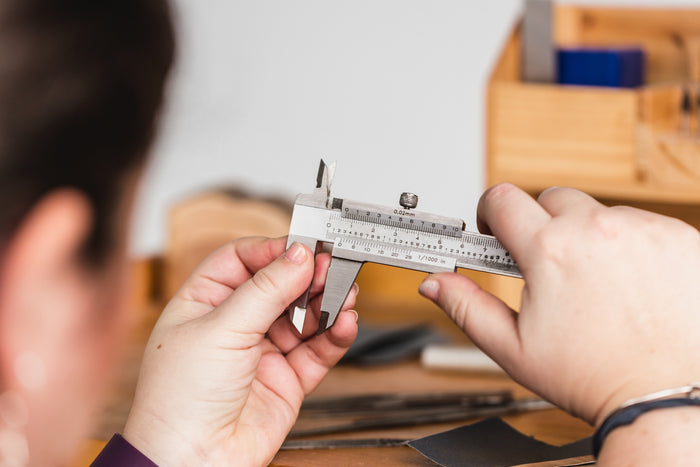
Always use a steel measuring tape and measure to the nearest millimetre
-
![]()
All Windows
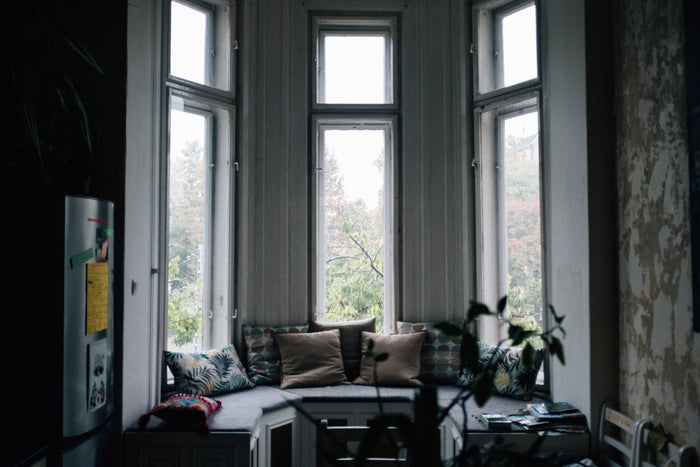
Measure all windows even if they appear to be the same size
-
![]()
Width x Height
Always write down your measurements as width x height (Industry standard)
-
![]()
Adjustments
Make a 4-5mm deduction on your opening width and 2-3mm from your height to allow frame to fit within recess.
Measuring Pitfalls
The main pitfalls to look out for when measuring for plantation shutters are obstacles that may prevent the shutter frame from fitting properly or protruding objects such as handles or alarm boxes interfering with the louvres. You are likely to encounter these when mounting your shutters inside the reveal using the L frame.
Also check if any of your windows open or tilt inwards. This will prevent an inside mount meaning the shutter frame will need to be fixed to the face of your wall using the outside mount Camber Deco frame. Remember to add the frame width x 2 (134mm) to your opening width and 67mm to your opening height if yours is a three-sided frame.
Order your FREE colour samples to match up with your interior decor.
If you need any help or advice when measuring, please call us on UK 0808 189 0014. Send us pictures of your windows also as this can be helpful to us if you’re not sure exactly where to measure from.
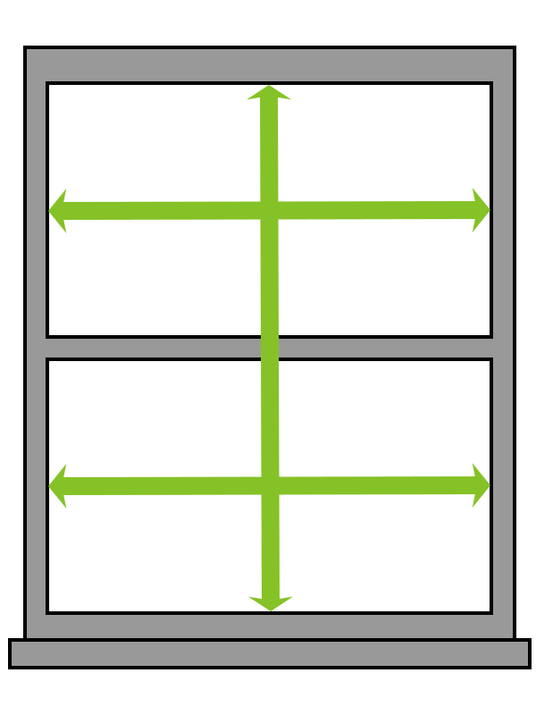
Inside Mount
Your shutters are supplied with a surrounding frame usually on 3 or 4 sides. If you have a deep enough recess you can choose an inside mount for your shutters. An L frame mounted inside the reveal with be fixed beside the window while a Z frame will be fixed at the front of the recess to give an architrave effect.
Width
- Using a steel measuring tape, measure the width in three places; top, middle and bottom and record the smallest width down to the nearest millimetre. We recommend you deduct 4-5mm from the opening width to allow frame to fit within the reveal.
- Always measure at the points where the frame is going to be fitted. For example if you decide to use a Z frame, measure out at the front of the reveal, not in next the window.
Height
- Measure in three places; left, centre and right and record the smallest height. We recommend you deduct 2-3mm from the opening height to allow frame to fit within the reveal.
Pitfalls
If mounting inside the reveal using an L frame, look out for protruding handles on PVC windows which might obstruct the tilting louvers, or alarm boxes etc which may obstruct the fitting of the frame. Also if you have tilt and turn windows you will not be able to use the inside mount option as the window will be obstructed by the frame. In this instance you must use the outside mount frame for fitting onto the face of your wall.
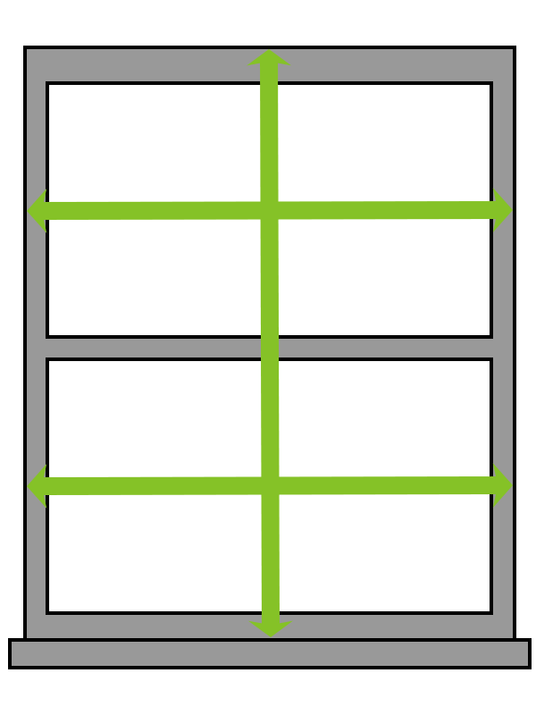
Outside Mount
If your recess isn't deep enough to accommodate an inside mount, you will have to choose an outside mount using an outside mount using the Camber Deco frame. Another reason for choosing an outside mount would be windows that open or tilt inwards.
Width
- As with an inside mount, simply measure the width and height in three places and add to this the width of the frame (67mm x 2 = 134mm). So for example if your window opening is 1000mm, the dimension you enter into the online designer is 1134.
- Ensure you have 67mm of wall space each side of your window to accommodate the frame.
Height
- Measure the height in three places, left, centre and right and add just 67mm if the frame is on the top only.
- The dimensions you provide us with for outside mount shutters will be the dimensions of the shutters and frames you receive. We will not make any additions or reductions.
The frame is fitted to the face of the wall through the channel in the front and the screw heads are then concealed by fitting the cover strip into the channel. The shutter panels, when opened, will fold back 180 degrees against the wall.
Measuring For Bay Windows
Angled Bay Window
Angled Bay Window
Shutters are fitted on bay windows using either the beaded L or insert L frames. Each window has its own individual frame and the frames will butt up against one another where the angles meet. Remember to record your measurements as width x height (width measurements always first).
Width
- Print off outline drawings of the L frame you've chosen and place them on your window sill at the angle where the side window meets the centre window. (Fig. 1)
- If your windows are PVC with protruding handles or alarm boxes are fitted, you will need to space the L frames out from your window to prevent the louvres being obstructed. (In our pictures below, a trim along the base of the window provides a ready made spacer).
- Where 64mm louvres are chosen, the back of the L frame needs to be the same distance out from the window as the handles or other objects. If you choose the 76mm louvre, the frame needs to be a further 15mm out, the 89mm louvre, 25mm out and with the 115mm louvre, the frame should be spaced out 35mm from the handle or protruding object. (Remember to make note of how far out from the window your frame is going to be as you will need to know this when it comes to fixing).
- With the two L frames in place butted up to each other, make a small mark on your window sill to indicate where you should measure to and from. (Fig 2)
- Having marked the outer edges of the frames at the angles (Fig. 3), you can now begin measuring.
- For side windows measure from wall to mark (Fig 4) and for centre window measure from left mark to right mark. Do not make any deductions.
Height
- Take height measurements in 5 different places in your bay window; the far left and far right hand side; the left angle (where frames butt up to each other - Fig. 1) and the right angle and finally in the middle of the centre window. Record the smallest measurement.
- It is important that all 3 frames are the same height as this ensures the same number of louvres will be in each panel and the top and bottom rails will be the same size.
- If you wish to have a mid-rail in your shutters, measure from the sill up to the mid point of where you want the rail to be. If possible match the location of your mid-rail to any rail or divider in your window.
- For tier-on-tier style, measure from the sill up to where you would like the split between top and bottom panels to be. This should be the same for all 3 windows in order to have a uniform look.
When ordering online, you will order three separate windows, typically referenced bay left, bay centre and bay right. If you need any assistance when measuring your bay window, please don't hesitate to call us on 028 9099 5904
Box Bay Window
Box Bay Window
Box windows are measured for shutters in a similar way to angled bay windows using the same small or large L frame. Instead of meeting at a 45° angle, the frames meet at 90° right angles, butting up to each other.
The box window in picture 1 below is made from wood and as such the handles do not protrude. This allows the frame to be fitted tight to the window frame where 64mm louvres are chosen (assuming there are no obstructions such as alarm boxes). As with angled bay measuring, space out 15mm if 76mm louvres are chosen, 25mm for 89mm louvres and 35mm if you've chosen 115mm louvres. Picture 2 shows you how the actual frames will fit into the openings prior to fixing.
If you need any assistance when measuring your box window, please call us on 0808 189 0014.
Curved Bay Window
Curved Bay Window
Measuring for a curved bay is similar to measuring for an angled bay except you have more sides to measure. Shutters on curved bay windows are fitted in their own individual L frames. Picture 1 below shows a seven sided curved bay window.
Width
- Print off an outline profile of your chosen L frame, butt the L frames against one another marking the outside of the frame on the window board.
- Our seven sided window below had protruding handles and the chosen louvre size was 89mm so this meant we had to space out our sample frames when measuring (Picture 2). In this instance the handles protruded 35mm from the face of the window and we allowed a further 15mm for louvre rotation, so our frames were spaced out 50mm from the window.
- Small marks on the window board indicate where to measure to and from (Picture 3).
- Record your measurements with a reference on each window, eg. bay 1, bay 2 and so on.
- Remember to keep whatever it was you used for a spacer or alternatively make note of how far out the frame samples were from the face of the window when measuring took place. You will need to know this when it comes to fitting.
Height
- Measure the height at each curve of the window as this may vary from one side of the window to the other. Record the smallest measurement.
- All frames should be the same height as this ensures the same number of louvres will be in each panel and the top and bottom rails will be the same size.
If you need any assistance when measuring your curved bay window, please contact us on 0808 189 0014.
French Doors or Velux Windows?
French Doors
French Doors
Please contact us for the French Door measuring template.
Velux Windows
Velux Windows
The good news where Velux windows are concerned is you don't need to do any measuring. Every Velux window is identified by a specific code, eg GGL MO8. This code can be found on a metal plate which becomes visible when you pull the opened window down towards you.
Contact us with your Velux code and we'll process your order. Or simply call us on 0808 189 0014.
If we have your size in stock, it will be dispatched within 48 hours.

